Are you the proud owner of a new iPhone 7 from Afghan Wireless? Congratulations! Here are nine things you’ll want to do right away:
-
Activate the iPhone.
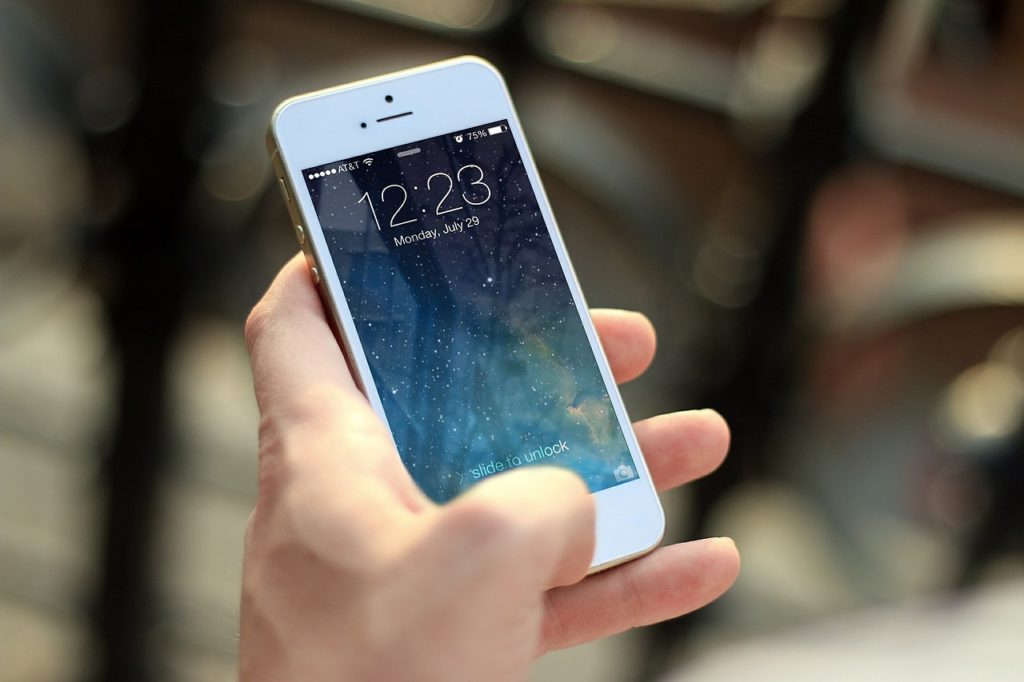
Before you can start using your brand-new iPhone, you need to activate it. Your phone will take you through a series of activation and setup steps when you turn it on for the first time; this will involve things like choosing the language you want to use, selecting your Wi-Fi network, and establishing basic settings for features like FaceTime and iMessage (don’t worry, you can always go back and change these settings later; for now, the important thing is just to get these features up and running). Your phone should also display the number associated with it; if the number is incorrect or you can’t get service, contact your carrier right away.
-
Create an Apple ID.
Your Apple ID is the key that unlocks most of the great features on an iPhone, like iMessage, iCloud, and FaceTime. It also lets you buy apps, music, movies, and more through the iTunes store. If you don’t already have an Apple ID from a previous device, setting one up should be one of the first things you do with your new phone. (There is no charge to create an Apple ID.)
-
Install iTunes.
Despite what its name suggests, iTunes is far more than just a music player. It’s actually an incredibly versatile tool that manages a number of settings related to your iPhone and allows you to perform tasks like adding and removing apps, music, photos, and other files from your device. Some iPhones come with iTunes pre-installed; if yours does not, you’ll need to perform this step manually.

Image by David Becher | Flickr
-
Set up and sync the iPhone.
You’ll get the most effective use out of your iPhone if it’s synced with your other Apple devices, like a laptop or an iPad, and this is something you can do as soon as your Apple ID is ready to go and iTunes is installed. To sync your iPhone for the first time, you’ll need to plug it into your computer; this will allow you to load any content you want onto your iPhone, as well as create folders and rearrange your app icons. After this initial syncing process is complete, you’ll be able to sync over Wi-Fi in the future simply by changing your settings.
-
Configure iCloud.
Another way to make using your iPhone easier and more effective is to take advantage of iCloud, Apple’s web-based data storage service. iCloud offers a consolidated and streamlined way to perform a number of key tasks, like backing up your data and files to Apple’s servers or automatically syncing your data across your various devices (see step #4). Another big advantage of using iCloud is that you can re-download any of your previous iTunes purchases at any time; this means that if your iPhone is ever lost or stolen, you can recover the music or apps that you’ve purchased through iTunes.
-
Set up “Find My iPhone.”
Speaking of lost or stolen phones, make sure that you’re protected in case something untoward happens to your iPhone by activating the Find My iPhone feature. Linked to iCloud, Find My iPhone uses your device’s built-in GPS to allow you to track the phone’s location and pinpoint its whereabouts on a map. This will help you recover the phone if you left it behind at the restaurant where you were eating dinner, for example. It will also help the police track down the culprit if your phone was stolen.

-
Set up Touch ID.
Making your iPhone as secure as possible will help give you peace of mind if you’re unable to recover a lost or stolen phone. Touch ID is the fingerprint scanner that is available on the newer iPhone models. It’s easy to set up and use, and it provides a valuable added layer of security for your phone and for any app that uses a password. Make sure you set this feature up on your new iPhone right away, and then you won’t have to worry about it again.
-
Set up Apple Pay.
Apple’s wireless payment system isn’t yet connected to every bank or accepted by every merchant, but it’s definitely worth checking out. More secure than using your regular credit or debit card because no numbers are shared with merchants, Apple Pay is easy and fast to use. You can set it up using the built-in iOS Passbook app.
-
Explore the built-in apps.
Once you’ve followed the steps above, it’s time to explore and play around! iPhones offer a very comprehensive selection of built-in apps for e-mailing, taking photos, listening to music, web browsing, and plenty of other tasks, so swipe around on your device and have a look at what’s there. If any must-have apps are missing, you can find them and others on iTunes or at the App Store.

