
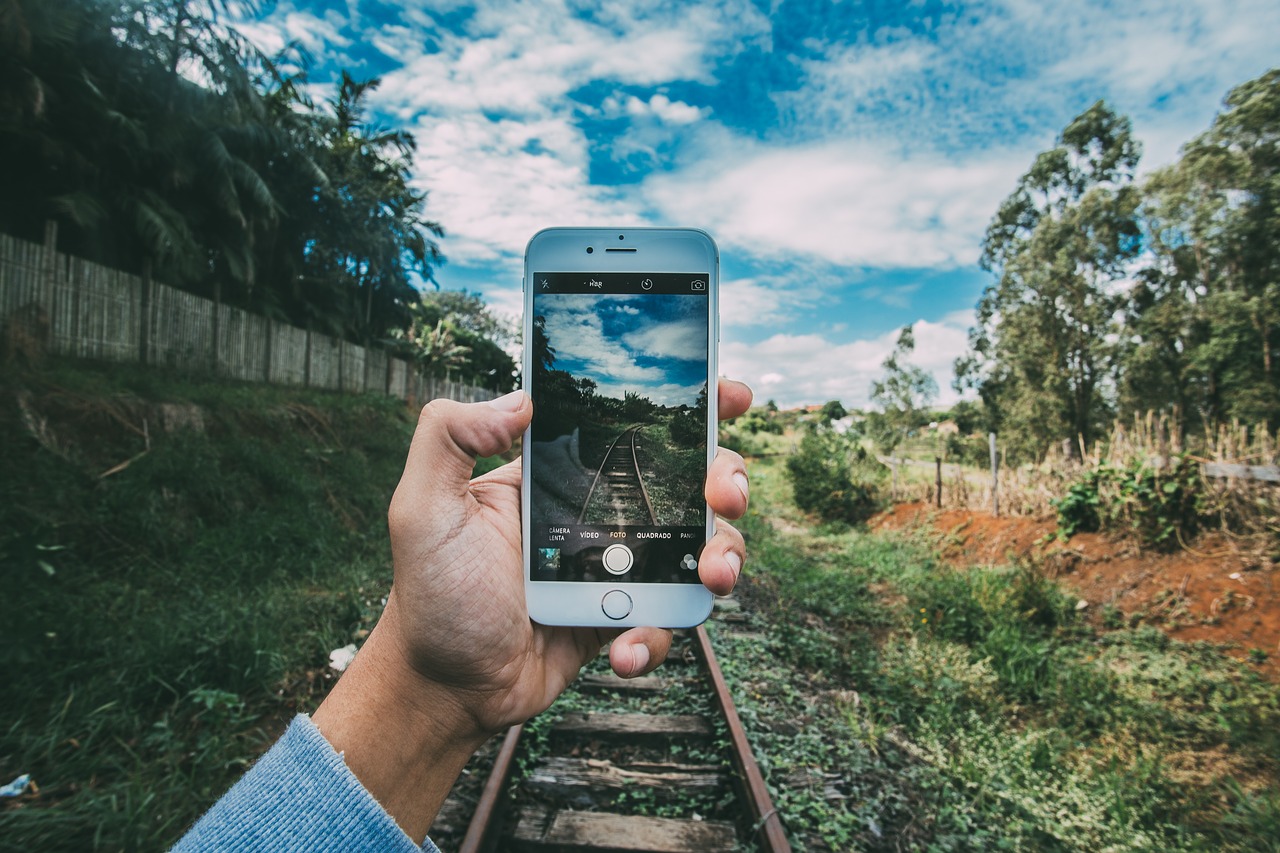
It has never been simpler to shoot video material. With smartphones becoming ubiquitous, we can shoot magical and memorable moments on the move, sharing them via social media in seconds. Simply pull out your smartphone, point, and tap the record button, and you can capture footage to edit and stream in an instant.
There’s more to it when it comes to capturing high quality video footage, however. Here are some tips to help you shoot the best videos possible with your smartphone, capturing footage with crystal clear clarity.
1. Zoom
It can be appealing to rely on your smartphone’s zoom to get a closer shot of your subject. However, if the zoom is not focusing optically, all you are really do is just enlarging the image digitally. This just increases the size of the pixels, resulting in a blurred image. Instead of using the built-in zoom, simply move nearer to your subject for crystal clear close-ups.
2. Orientation
Nothing spoils great tape like having to view it through thick black stripes on either side of the footage. Avoid this rookie mistake by holding your phone in landscape orientation rather than portrait before hitting record. Unless you intend to view your video on a platform like Instagram Stories or TikTok, those screen-hogging black lines are unappealing. Not only does landscape make videos more attractive, but it also makes videos easier and more enjoyable when watched on a television, as well as enabling you to fit more viewable area.
3. Sound
A commonly overlooked, yet crucially important, component of video is sound. If you are shooting an interview, your phone’s microphone may not be up to the task. Smartphone microphones are usually sited in the wrong location so they record badly, which negatively impacts sound quality. Investing in a basic external microphone can help you improve your video audio significantly without spending too much.
4. Light
Like its microphone, your smartphone’s built-in lighting hardware may not be up to the task of shooting professional-quality videos. Relying on the flash is likely to result in that old VHS camcorder spotlight appearance reminiscent of found horror footage, culminating in a poor, amateurish result. There are numerous camera lighting kits available for purchase today, or you can make your own bespoke kit.
One free and readily available lighting source is the sun. Natural light looks great on video in almost every instance. Face subjects towards the light to make the most of natural lighting, shooting with your back to the sun. It is important to avoid having natural light behind your subject, otherwise the video will only pick up their shadow.
5. Tripod
Even for those with a very steady hand, the editing process can reveal slight tremors that you were unaware of while filming. The tiniest movement can ruin first-rate video. A tripod is vital to stabilize your footage. There are adapter clips available to make most smartphones compatible with many digital camera tripods, eliminating shake and helping you to capture rock steady videos.
6. Framing
With the proper orientation, you can completely fill the frame with your subject. Alternatively, you may prefer to create a more visually interesting scene by placing them slightly off-center. Most smartphone camera apps incorporate gridlines, providing you with a 3×3 grid of squares, helping you to abide by the “rule of thirds.”
The rule of thirds is more of a guideline or starting off point rather than a rule that must be followed at all costs. Essentially, you place the subject on the right or left line and the horizon on the top or bottom line. This will improve the conformation of your image and make your shot more compelling.
7. Focus and Exposure
Smartphone cameras are designed to automatically detect and adjust focus and exposure. This is usually fine for photographs, but because video shots are dynamic, you will need manual control to remain focused on your subject and prevent them from becoming blurry or over-exposed. In your smartphone’s default app, simply tap on your subject to manually lock focus and exposure in your footage. You can also adjust this at any point after filming has started.
8. Clip-on Lenses
There are a variety of clip-on lenses available for most smartphones today, enabling videographers to achieve impressive effects, including wide and macro shots. The great thing about these add-ons is that they are generally inexpensive. This gives you the opportunity to play with different lenses for stunning wide and super-close shots.
9. Preparation
Before you start filming, it is crucial to prepare. Ensure you have the necessary equipment, props, scripts, and actors at the ready. In addition, it is also imperative to invest in adequate storage space and possibly a powerbank. High-definition video files can take up a lot of storage space, as well as rapidly draining your smartphone’s battery.