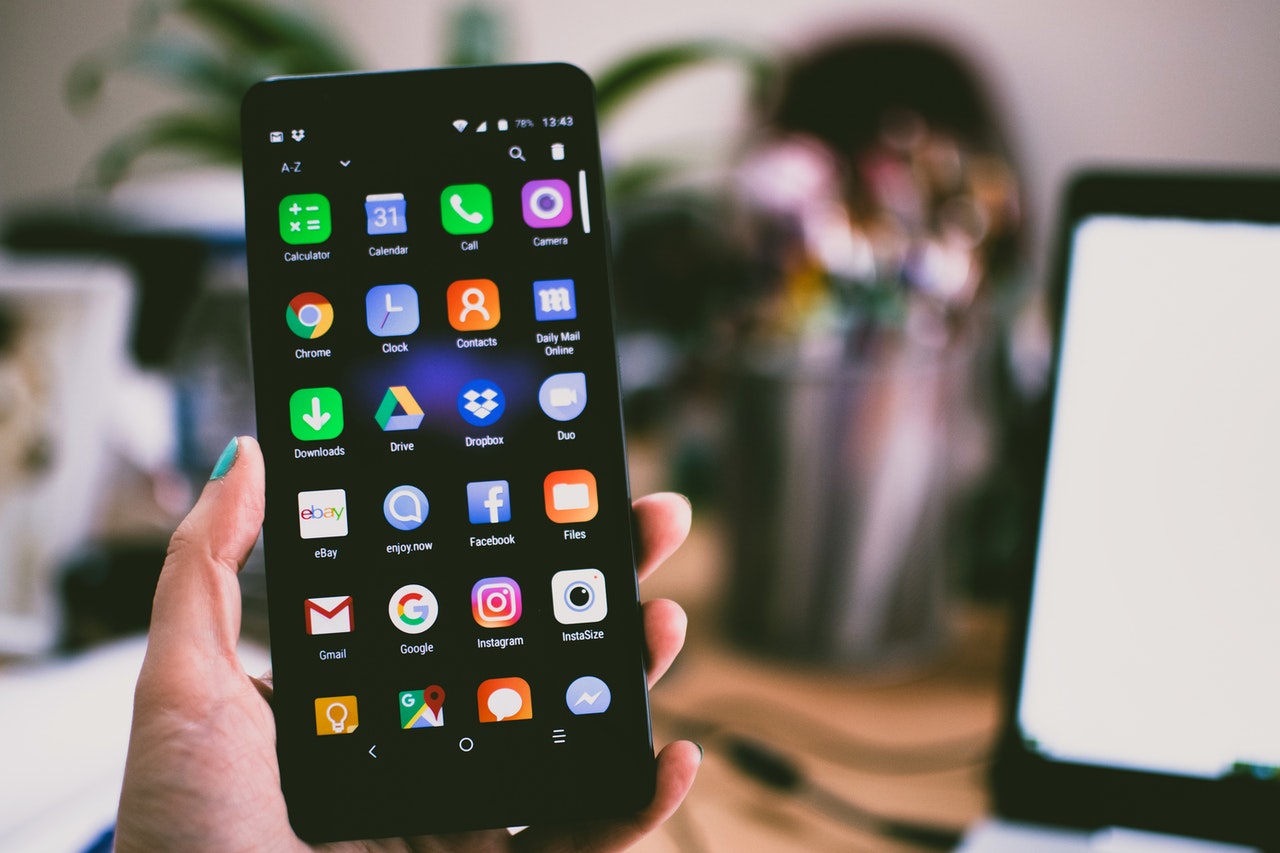
Until relatively recently, taking high-quality photos was a costly and labor-intensive process. Enter the smartphone. Its innovative mobile camera technology enables consumers to take professional standard photos while on the move, without the need for fancy cameras or complicated desktop editing software.
Taking premium-quality photos using your smartphone is more than a matter of just pointing and shooting. This article shares top tips from the experts to help you take great images using your mobile phone.
1. Camera Apps
Choosing the right app is a key element of getting stunning shots. Today, most smartphones come with a serviceable camera app preinstalled. However, myriad third-party apps offer similar manual controls to a DSLR camera, enabling you to customize settings to your taste and needs.
Many camera apps incorporate settings to shoot in RAW format in addition to the standard JPEG. If you plan to edit images on your computer later, shooting in RAW format could be an extremely helpful option.
2. Gridlines
Turning on gridlines is one of the easiest and most effective ways of getting the most out of your smartphone camera. Gridlines superimpose a series of lines on the screen, allowing you to adopt the rule of thirds, the tried-and-true composition principle in photography. Gridlines break down images into vertical and horizontal thirds, resulting in nine equal parts arranged in a 3×3 grid. According to the rule of thirds, to achieve the right balance, points of interest should be framed within these intersections, or along the lines, to enable viewers to interact with the image more naturally.
3. Add-on Lenses
Mobile photography has improved in leaps and bounds, and so have the options for add-on lenses. For larger items that are particularly challenging to frame, a wide-angle lens could prove incredibly useful. Meanwhile, macro lenses can help to distinguish areas of texture or intricate detail.
It is vital, however, to exercise caution when using add-on lenses so that your choice of lens does not distort the subject of your photo. For example, a fisheye lens could result in inaccurate proportions. While this might culminate in a stylistically pleasing appearance, if you are taking photos for business purposes, distorted images of products or a product’s use could be misleading and create problems with customers.
4. HDR Mode
HDR, which stands for high dynamic range, is a nifty camera feature used in high-contrast photos to balance light and dark elements. It is often employed by photographers to achieve a more creative, artsy effect.
With smartphone cameras, it can be tricky to achieve the perfect exposure for light and dark areas. You might be taking a photo of a person standing against a brick wall in a room with low light or someone standing in front of a bright background. Setting exposure to the subject could result in overexposure of the background. However, setting the exposure to the background could leave the subject underexposed. HDR solves this problem by retaining details in both lighter and darker areas. iPhones take photos in HDR by default, but for Android phones, you may need to adjust the settings manually.
5. Smartphone Models
Smartphone cameras have undergone rapid transformation in the past couple of years in terms of image quality. If the ability to take beautiful, crystal-clear photos is a priority for you, research the latest models when seeking out a new smartphone. As a general rule of thumb, iPhone, Samsung Galaxy, OnePlus, and Google Pixel typically invest heavily in the latest innovative, high-spec mobile camera technology.
6. Tripods
Perfect photos require a steady hand. A tripod opens up an amazing range of photography styles and techniques, from low-light photography and timelapse to long exposures.
Pocket-sized tripods, which are often compatible with any device, can help you to achieve excellent results with your smartphone photography. You can also purchase a smartphone case with mounting threads so you can stick it to more professional tripods or shoulder straps and other camera accessories.
7. Lighting
For top-quality indoor images, it is important to choose a room with good lighting. A room with a large, well-lit window is ideal. The bigger the window, the more natural light will flood into the room, bringing the subject to life.
Alternatively, you can invest in a third-party lighting set-up, such as an LED photo and video light that comes with a range of accessories, such as color gels.
8. Exposure
When taking photos with our smartphones, many of us simply trust the latest point-and-shoot technology to do the hard work for us. However, camera apps offer a huge amount of manual control. With a few basic adjustments, using exposure to brighten or darken the subject, a bland image can be transformed into a head-turner.

