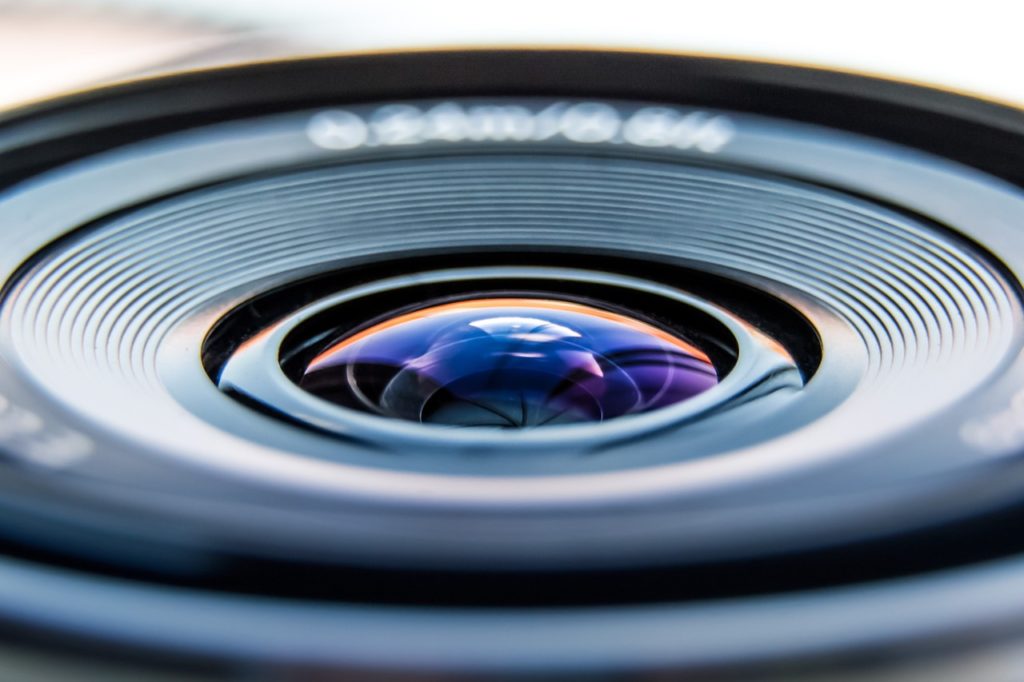
Even if you’re a complete beginner when it comes to photography, there’s no need to panic. The iPhone’s sophisticated camera setup makes it unbelievably easy to take excellent photos, especially if you follow these eight super-simple—but highly effective—tips and tricks:
1. Clean the lens.
You already know that cleaning your iPhone regularly is an important part of keeping your device in good working condition. This is especially true when it comes to the camera lens.
Over time, the lens can become obscured by fingerprints, dust, and grime. All of these can make it harder for the camera to capture an accurate, detailed image. Keep the lens sparkling clean—and your photos sharp—by wiping it down gently with a soft microfiber cloth (similar to what you would use to clean a pair of eyeglasses).
2. Pay attention to position.
How you hold your iPhone can make a big difference to your final photo. Based on the way we usually hold our phones, you might instinctively set up to take a photo in what’s known as portrait mode. In other words, you’re holding the phone vertically and taking a picture that’s taller than it is wide.
Not all photos will be best captured by this orientation. Some scenes will work better in the horizontal landscape mode. So be sure to take a moment to figure out the best position for your iPhone before you snap your picture.

3. Find the best framing.
One of the keys to taking a good iPhone photo is to take your time in finding the best frame for the image you want to capture. Don’t just point and tap: experiment with moving your iPhone around a bit and exploring different ways to frame your subject.
Try moving the camera higher or lower, or to the left or to the right, and see how things like shadows and reflections change. Your extra effort will usually be rewarded with a more interesting final photo.
4. Try the grid overlay.
If you need a little extra help finding an interesting way to frame your subject, the iPhone camera offers a useful grid overlay. When this feature is enabled, equally spaced lines, two vertical and two horizontal, appear on your screen. This divides the display into a grid of nine rectangles.
You can then use this grid to help you align your image, or to find an interesting position for your subject within the frame. For example, many photography experts recommend placing your subject at one of the four points where the grid lines intersect to get a more dynamic photo. You can find the grid feature in your Camera Settings menu.
5. Keep things stable.
Most new iPhone models include a camera feature called optical image stabilization. This helps the camera system reduce the blur that is produced when the camera moves as a photo is taken. But you’ll still want to make every effort to keep your iPhone as still and stable as possible when you take a picture.
Make sure you’re in a comfortable posture as you prepare to snap. Ideally, you’ll be resting or leaning your arms against something supportive to minimize the effect of shaky hands. Then, choose the photo-taking method that will disturb your position the least. You can either tap the red button on your iPhone’s screen, or you can press the volume up button on the side of your device.
6. Avoid zoom.
As a beginner photographer, it’s easy to be tempted by the digital zoom settings that your iPhone camera offers. But in fact, digital zoom doesn’t usually make for great photos.
Images captured with this feature usually lose detail and get slightly blurry when they’re enlarged. Instead, whenever possible, try “zooming with your feet.” That is, simply move closer to your subject if you’re too far away for the shot you want.

7. Change your focus.
Did you know you can change what the camera is focusing on simply by tapping different sections of your screen? Wherever you tap, your iPhone will automatically adjust to focus on the most prominent thing in that area.
This is a very useful feature in cases where you don’t necessarily want to focus on your main subject. For example, placing your subject in the foreground while having your camera focus on a different object slightly behind can actually produce a more appealing and effective photo.
8. Turn off the flash.
It’s very rare that you’ll actually need to use the flash to take a photo on your iPhone. Even in low light environments like a dimly lit restaurant, the iPhone camera is able to capture a surprising amount of detail.
Using the flash in these situations often causes glare or makes the photo overly bright. In general, it’s a good idea to keep the flash turned off. Only use it if it seems absolutely necessary.

